
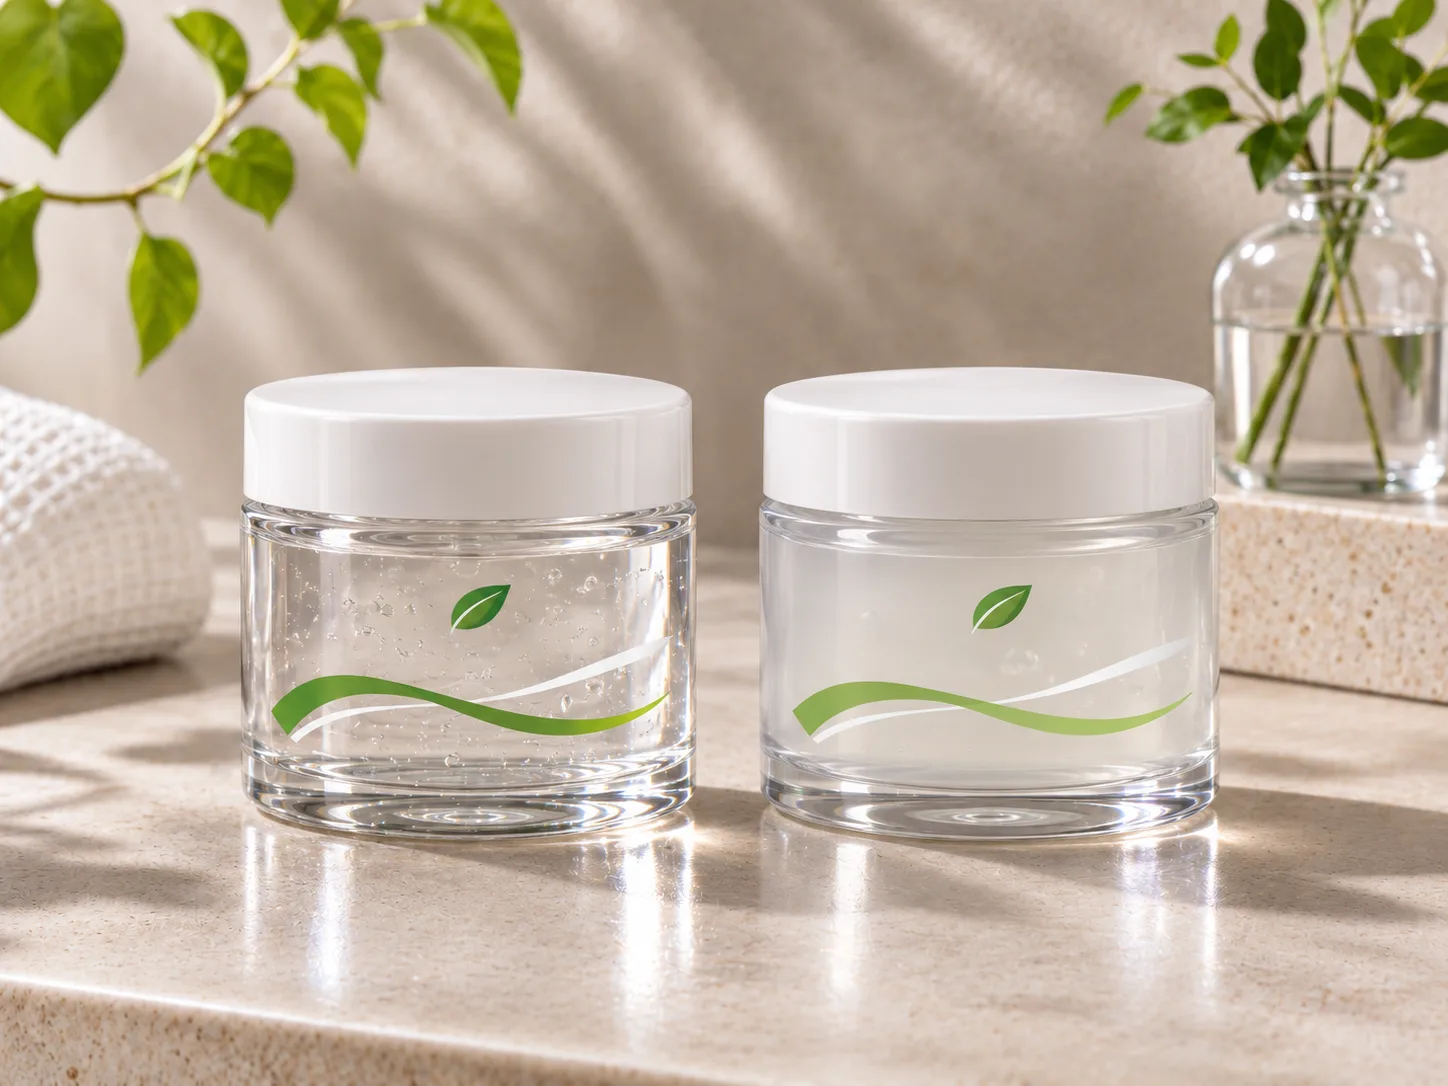
What does no-label-look clarity actually mean?
A no-label look means that the unprinted label area blends into the package so the graphics appear to sit directly on it. It does not mean the label becomes invisible at every angle. A cut edge or a difference in surface gloss can remain visible even when the construction is acceptable.
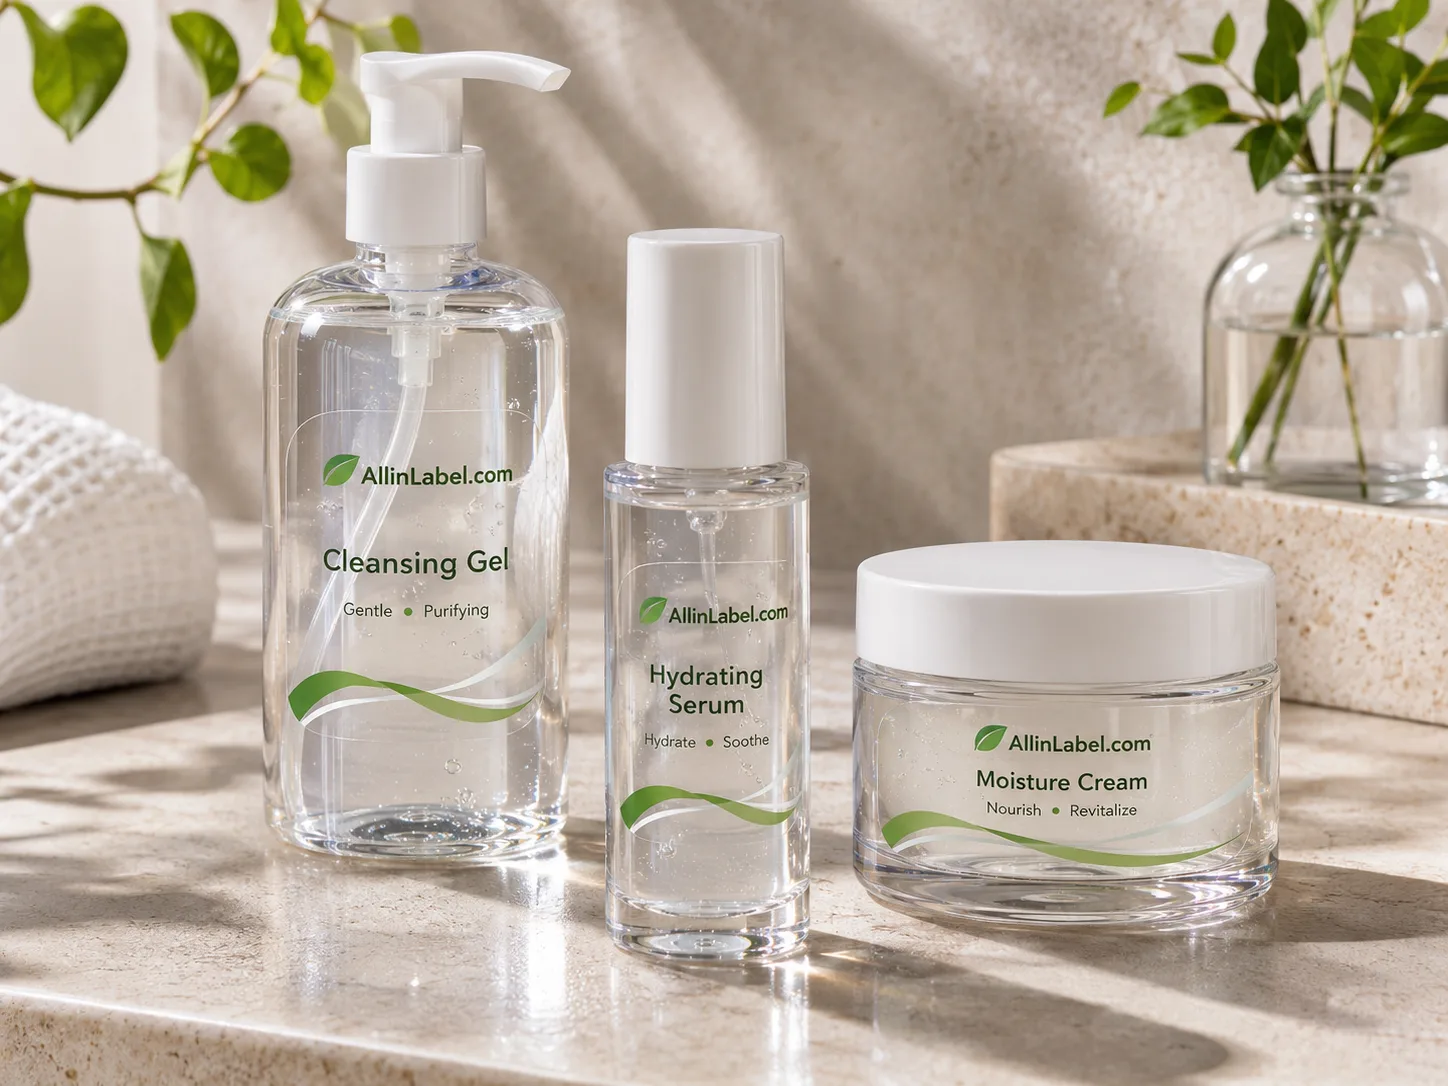
For a material shortlist, start with clear BOPP label material. This guide addresses the next question: why does a selected construction still look wrong after printing or application?
Do not use transparency, haze and clarity as interchangeable measurements:
| Property | What it describes | What it cannot establish alone |
|---|---|---|
| Total luminous transmittance | How much visible light passes through the specimen | Whether fine detail remains sharp or the label blends into a bottle |
| Haze | Wide-angle light scattering that reduces contrast and creates a hazy appearance | The cause of every cloudy patch on an applied label |
| Clarity | How distinctly fine detail can be seen through the material; affected by narrow-angle scattering | Complete package appearance under all viewing distances and lighting |
| Finished-pack appearance | The combined effect of label, print, container, contents and viewing conditions | A standardized material property unless the inspection method is defined |
The optical distinctions follow BYK-Gardner's transparency measurement explanation. The last row is a practical package-review category, not an additional standardized optical metric.
Match the symptom to the first check
Timing helps narrow the investigation, but it is not proof of a cause. Use the following table to choose a comparison, not to diagnose from appearance alone.
| What you see | First comparison | Possible explanation to investigate | What to do next |
|---|---|---|---|
| An even gray or milky cast in unused, unprinted material | Same construction viewed with consistent backing and lighting; request a face-only reference if available | Film, topcoat, adhesive, liner presentation or handling marks | Ask the supplier which layers are included in its optical data |
| Fine bright speckles or patchy contact immediately after labeling | Identical labels on clean, dry containers using a documented application process | Entrapped micro-air, incomplete wet-out, surface texture or contamination | Review the application interface and wipe-down before changing the film |
| Cloudiness appears after chilling or wet exposure | A dry-applied control kept dry versus an identical dry-applied pack exposed to the intended service cycle | Exterior condensation, moisture at the interface, adhesive water whitening or finish changes | Locate the moisture and inspect both wet and recovered appearance |
| The effect follows bottle seams or textured areas | An unprinted sample on a smooth reference versus the actual label panel | Container geometry, texture or local lack of contact | Review the label position and container finish with the pack supplier |
| A milky area follows the printed or varnished pattern | Unprinted, printed and finished labels from the same construction | White ink, varnish, overlaminate or converting-related effects | Ask the converter to isolate the added layer |
| The perimeter is visible, but the center is clear and well bonded | View the same edge under the agreed lighting and at different angles | Film edge, gloss contrast, local lift or adhesive at the cut edge | Decide whether this is an agreed appearance limit or a bond defect |
If there are raised pockets, creases or channels rather than diffuse cloudiness, use the existing bubbling, wrinkling and tunneling guide. That is a different troubleshooting task.
Separate film haze from adhesive wet-out
Wet-out is the adhesive's ability to conform to the surface to which it is applied. It is not a recommendation to wet the bottle. Avery Dennison's adhesive glossary also distinguishes application temperature from service temperature: a construction that works after bonding in a cold environment may still need a different temperature during labeling.
If an unprinted label looks clear on a smooth reference but patchy on the production bottle, the result directs attention toward the package interface. It does not prove the adhesive is faulty. Container texture, contamination, application contact and geometry remain possible contributors.
Compare unused labels, an unprinted applied label and a printed applied label without changing several variables at once. If the supplier can supply a matching face-only reference, it can help investigate the film contribution. Do not try to manufacture a face-only test specimen by stripping adhesive with an unvalidated solvent; that could change the film or coating.
Check the applicator with the converter or equipment operator. Record the wipe-down tool, its condition, line speed and settings within the approved operating window. A hand-applied sample may help screen a construction, but it does not validate production-line performance.
Allow the agreed dwell period before final comparison, while also recording the immediate appearance. Do not assume every cloudy patch will disappear overnight. A change with time is evidence to investigate, not a universal recovery rule.
Check moisture before blaming the film
Water can be outside the label, trapped beneath it at application, or involved in a later change in adhesive appearance. These are not the same condition.
In its AD CleanFlake technical guide for PET containers, Avery Dennison describes cloudiness associated with moisture on bottles during labeling and emphasizes a dry label panel and adequate wipe-down. Those instructions concern the constructions discussed in that guide; they do not establish recovery times or performance for AllinLabel materials.
Use separate controls:
- Dry application, dry storage: establishes a baseline for the construction on the actual container.
- Dry application, intended wet or chilled service: investigates what happens after an initially acceptable bond.
- Actual application-line condition: checks whether a dry label panel is consistently achieved during filling and labeling.
If wet application is unavoidable, treat it as a separate qualification requirement. Do not infer wet-application suitability from a claim that the BOPP face resists water.
Record bottle-surface temperature and ambient conditions when condensation is relevant. Inspect surface droplets before touching the label; use a separate matched pack for a gentle exterior-drying check so wiping does not become an uncontrolled application-pressure step. Photograph both the exposed and recovered condition at recorded times. Recovery of appearance, if observed, does not by itself establish acceptable adhesion.
A published bottle-soak example, with an important limit
A technical paper hosted by PSTC, Figure 12 on PDF page 8, compares adhesive formulations on glass bottles after a six-hour ice-water exposure. The face was polyester, not BOPP. The authors describe these qualitative observations:
| Published sample | Reported bottle-soak observation |
|---|---|
| Formulated control | Blushing at edges and in areas appearing partly detached |
| Formulated prototype | No visible indication of blushing or delamination in the reported comparison |
This supports checking adhesive formulation as well as the face. It does not establish a BOPP specification, a universal six-hour qualification test, a pass rate, or performance for AllinLabel. The cited bottle comparison does not provide an independent specimen count or a bottle-haze dataset here, so no statistical claim or performance chart is reconstructed from the photographs.
Inspect printing, varnish and the label edge
If only printed or finished samples look cloudy, do not start by changing the base film. Compare an unprinted label, the printed label before finishing if available, and the final varnished or laminated label.
Check the white-ink separation. White ink beneath selected graphics can preserve opacity, while white ink extending into an intended clear window changes that window by design. Agree which areas should be clear before judging the material.
An overlaminate adds another film and adhesive interface. Fine air entrapment at that interface may be described as silvering, but a silvery-looking bottle is not enough to locate it. Avery Dennison discusses micro-air silvering in its UV graphics overlamination guidance. That is an analogous converting issue, not a validated setting recommendation for BOPP bottle labels. Ask the converter to isolate the interface; do not copy heat or pressure settings from a different product system.
For visible edges, distinguish a normal cut-film boundary from lifting, ooze or trapped contamination. A lower-haze face cannot remove every edge highlight. If the edge is lifting, follow the label peel-off troubleshooting guide rather than treating the failure as appearance only.
For flaking or poor ink anchorage, use the separate BOPP, PE and PET ink-adhesion guide.
Run a controlled comparison on production containers
Begin with a small diagnostic comparison before commissioning a broad material change. The plan below is an editorial trial framework, not a standardized test or evidence of completed results.
| Comparison | Change deliberately | Keep documented and matched | What the comparison can tell you |
|---|---|---|---|
| Unprinted versus printed | Print build | Complete label construction, container lot, application and inspection | Whether the effect appears with printing |
| Printed versus finished | Varnish or overlaminate | Print build, base material and application | Whether a finishing step adds the effect |
| Smooth reference versus production container | Substrate surface and geometry | Label construction, application procedure and viewing setup as far as practical | Whether package-specific contact or optics need investigation; not which container variable caused it |
| Dry baseline versus service exposure | Defined chilled, wet or handling exposure | Initial dry application, construction and package | Whether appearance changes during that exposure |
| Current versus alternative construction | One documented material component where feasible | Other components, artwork, package and process | Whether that controlled change merits a line trial; if several components change, treat it as a construction-level comparison |
Give each independently labeled container an ID. Repeated photographs of one bottle are not independent specimens. Agree the number of containers and lots with the customer and technical team; do not select a sample count merely to produce a favorable pass rate.
Keep the camera, lighting, viewing distance, angle, background and fill condition consistent. Use diffuse lighting for the general appearance and an agreed oblique view for edge/contact inspection. Auto-exposure and reflections can make two identical labels look different in photographs.
Save the images with the sample IDs and exact elapsed times. Do not peel and reapply a failed label as the comparison sample. If a cleaning trial is needed, use a separate container and a cleaning procedure approved for that package and its production environment.
Download the blank clarity-trial record
It contains fields for your observations, not prefilled test results.
Use optical measurements without overreading them
ASTM D1003-21 covers haze and luminous transmittance for planar transparent specimens. A curved, filled bottle is not automatically a compliant specimen. Ask the laboratory to identify the applicable method, specimen preparation and limitations before calling a measurement an ASTM result.
One published example illustrates why specimen identity matters: Mactac's PTC8291-2 performance guide, revised January 2020, lists a haze value of 2.5 under ASTM D1003 in its physical properties without adhesive section. The guide describes typical values. That entry is not a measured result for an applied bottle label, a specification for AllinLabel, or a universal acceptance limit. The number is reproduced as reported; it is not used here to rank constructions.
Use this measurement record instead of a supplier league table:
| Record item | Required detail |
|---|---|
| Specimen | Face only, face plus adhesive, finished laminate, or another precisely described preparation |
| Liner and support | Whether removed; any support or reference panel and its contribution |
| Property and units | Haze (%), total luminous transmittance (%), or a separately specified clarity measurement |
| Method | Standard/version, procedure, instrument, geometry and calibration record |
| Conditions | Conditioning, thickness, orientation, handling, exposure and measurement time |
| Results | Individual specimen values, specimen count, repeated readings and any exclusions |
| Package review | Applied-pack appearance under the agreed inspection setup, recorded separately |
Do not combine a face-only value from one supplier with a laminate value from another in a comparison chart. Likewise, a visual photograph is not a calibrated haze measurement. There is no single low-haze number in this guide that guarantees an acceptable no-label look.
Agree on appearance acceptance before ordering
An approved reference pack is more useful than the phrase "crystal clear." Define what the customer is approving: clear-window appearance, edge visibility, bubbles, printed opacity and the condition after the intended service exposure. Keep adhesion and print durability as separate requirements.
For the same reason, specifying a PET liner does not guarantee an invisible label. The liner is removed during application. Its selection still matters for the complete material and converting process, but it is not a permanent transparent layer on the bottle. Confirm the adhesive and release-liner construction, not just a film or liner name.
Send the supplier the current construction and batch, container material and lot, label geometry, printed/clear areas, process conditions, defect timing and matched photographs. Include the appearance target and any proposed measurement method. For glass-specific selection, see label materials for glass bottles and jars.
Ask AllinLabel about a clear BOPP material trial. Request confirmation of the proposed face, adhesive, liner and current technical documentation. This is a material-construction enquiry for converter trials, not a promise of finished printed labels or a guaranteed optical result. Sample format, availability, MOQ and lead time require confirmation.
Frequently asked questions
Does clear BOPP automatically create a no-label look?
No. The final appearance also depends on adhesive contact, the container, print, finishing and viewing conditions. Approve a complete printed construction on production containers, including the filled pack when the contents affect the appearance.
Will a stronger adhesive make the label clearer?
Not necessarily. Bond strength and optical appearance are separate acceptance questions. Ask for a construction matched to the actual surface and exposure, then check both appearance and adhesion. A higher peel value alone does not answer the clarity problem.
Should I switch from clear BOPP to clear PET?
Not solely because a label looks cloudy. First locate the effect. Changing the face will not necessarily correct trapped moisture, incomplete contact or a printing/finishing issue. Any alternative construction needs the same controlled package trial.
Can the bottle itself limit the no-label look?
Yes. Texture, seams, shape and the package's own optical appearance can remain visible. If the same label behaves differently on a reference panel and on the bottle, investigate that difference rather than assuming the film grade alone is responsible.
What should a clarity complaint include?
Keep unused material and affected packs. Supply construction and batch details, package identity, application conditions, when the defect appeared, and consistent photographs of the clear window and edge. Separate observations from suspected causes so the next trial tests a specific explanation.
Sources and scope
Technical sources checked on November 16, 2026: BYK-Gardner's transparency measurement explanation; ASTM D1003-21 public scope; Avery Dennison's adhesive glossary, AD CleanFlake PET application guide and UV graphics overlamination guidance; the PSTC-hosted water-whitening adhesive paper; and Mactac PTC8291-2. Each is linked next to the statement it supports. Product-specific examples are not AllinLabel specifications, supply commitments or endorsements. No controlled AllinLabel clarity dataset was supplied for this article.