
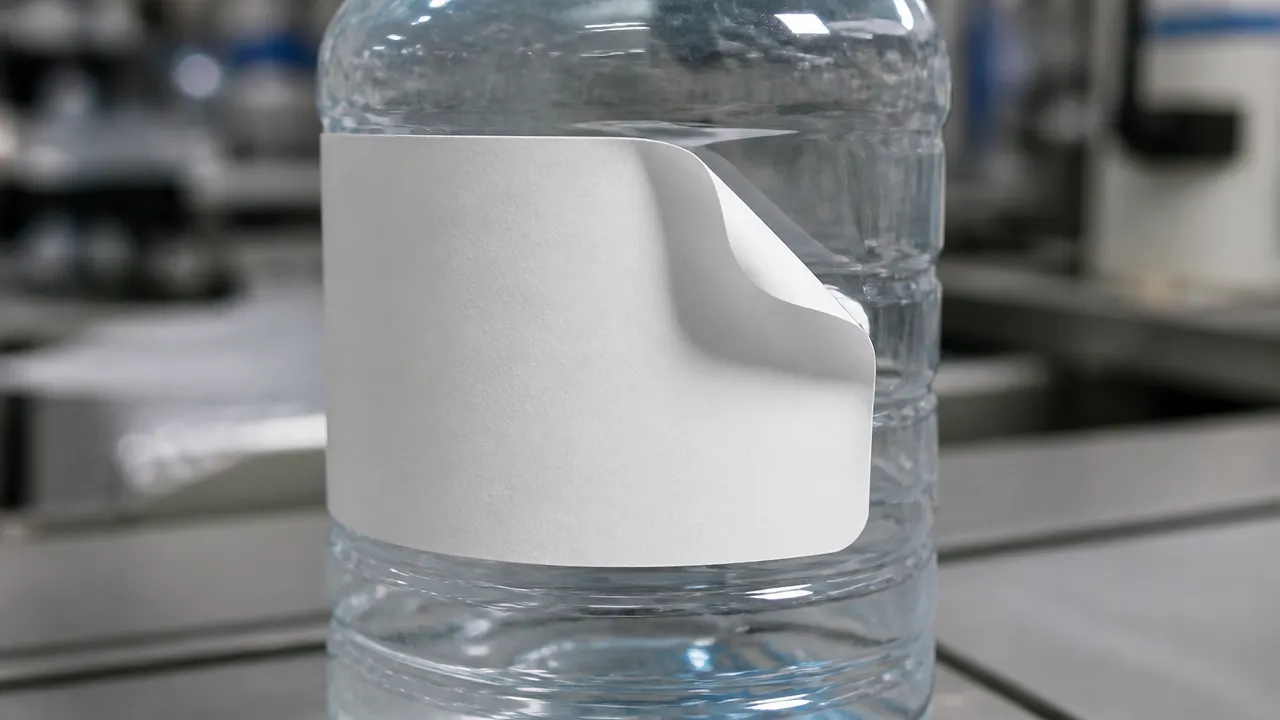
Quick diagnosis: a stronger adhesive is rarely the first fix
A higher-tack adhesive helps only when the adhesive grade is the limiting factor. It will not correct contamination, condensation, low application temperature, insufficient wipe-down pressure or a facestock that is too stiff for the container.
Wet-out is the mechanism to keep in mind. A pressure-sensitive adhesive is a viscoelastic layer. It must make close contact with the substrate under suitable pressure and temperature, then continue to wet out the surface during the bond-building period. Remove any one of those inputs and even a high-performance adhesive behaves like a weak one.
So the first question is not which adhesive is stronger. It is which of the four inputs — surface, pressure, temperature, dwell time — was missing when the label was applied.
- Surface: energy, texture, coating, residue and moisture at the moment of application.
- Pressure: the wipe-down force and contact area from the applicator or the operator's hand.
- Temperature: the substrate temperature during application, not the storage temperature afterwards.
- Dwell time: how long the bond has to build before the pack is chilled, stacked, filled or shipped.
Start with when the failure happens
The timing of the failure narrows the cause faster than any laboratory measurement. Ask the line or the customer for the point at which the label first lifted, and record it before anything else.
Immediate release, within seconds of application, points at contamination or an adhesive with too little initial tack for a curved or textured wall. Failure after several hours suggests the bond was building but never reached the level the container geometry demanded.
Failure that only appears after cold storage points at application temperature or condensation, not at the adhesive's rated service temperature. Failure during transport points at flexing, abrasion or stacking pressure on lifted corners. Failure confined to the corners points first at geometry and facestock stiffness.
Ask for the failed pack, not a description
Whether the adhesive stayed on the label or transferred to the container tells you which interface gave way. Adhesive left on the container means the facestock–adhesive bond failed or the facestock tore. A clean container surface means the adhesive never wet out properly in the first place.
Diagnosis table
Use this as a triage sheet on the line. Work down the first column to the row that matches the observed behaviour, inspect what the third column names, and apply the first corrective action before changing materials.
| When it fails | Likely cause | What to inspect | First corrective action |
|---|---|---|---|
| Immediately at application | Contamination, or too little initial tack for the surface | Container wall for dust, oil, mould-release agent or water film; applicator wipe-down brush contact | Clean and dry one batch of containers by hand and re-apply; increase wipe-down pressure |
| Within a few hours | Incomplete wet-out; bond never reached working strength | Substrate type and surface energy; application temperature; time between labelling and the next process step | Hold labelled packs at ambient for 24 hours before the next step and re-check |
| After cold storage or freezing | Application temperature too low, or condensation at the moment of application | Product and room temperature at the labelling station; whether packs are labelled before or after chilling | Label before chilling where possible; otherwise specify a cold-apply or wet-surface construction |
| During transport or handling | Flexing, abrasion or stacking load on an already lifted edge | Pallet pattern, container squeeze, label position relative to handling points | Reposition the label away from the flex zone; reduce label size or round the corners |
| Only at the corners | Facestock stiffness fighting container curvature | Facestock caliper; label width against container diameter; corner radius; ink or varnish build at the edge | Move to a thinner or more conformable facestock and round sharp corners |
| Only on some production lots | Substrate or process variation rather than the label material | Container lot and supplier; surface treatment records; label roll lot and storage conditions | Test the same label lot against a known-good container lot to isolate the variable |
Surface-specific problems
Substrate behaviour explains most of the pattern in field failures. The comparison below covers the surfaces we are asked about most.
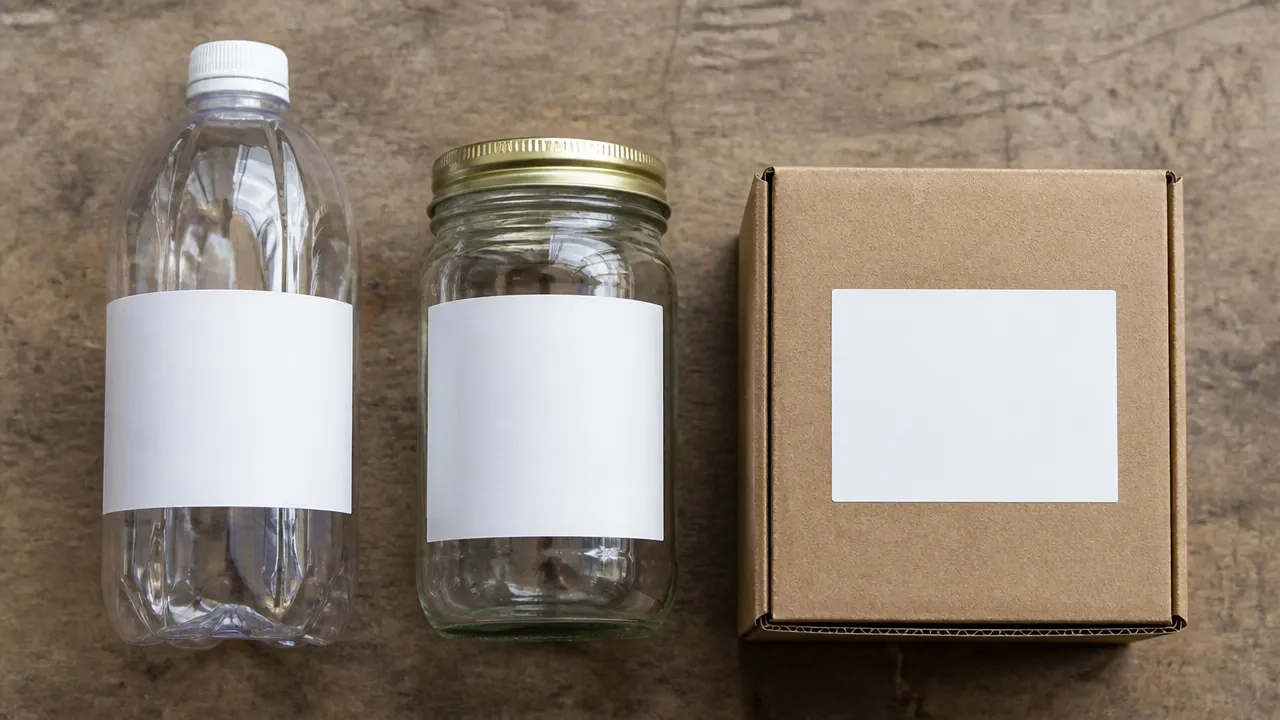
PET
PET has moderate surface energy and usually accepts a general-purpose permanent acrylic. Problems here are more often about the pack than the plastic: thin-wall bottles deform under the applicator, condensation forms on chilled fills, and tight diameters put constant peel force on a stiff facestock. Application-specific guidance sits on our label materials for PET bottles page.
HDPE and PP
HDPE and PP often require adhesive grades developed for low-surface-energy plastics. Surface treatment, additives, container age and contamination can change performance. Test the actual production container instead of assuming one adhesive grade will work across every polyolefin surface. Container-specific guidance sits on our label materials for HDPE and PP containers page, and packs that flex in the hand are covered in choosing labels for squeezable containers. The trade-offs between chemistries are covered in acrylic vs hotmelt label adhesive.
Glass
Glass generally provides a favourable bonding surface when it is clean and dry. If a label peels, inspect condensation, rinse water, conveyor lubricant, coatings and other contamination before changing the adhesive. Confirm the construction under the actual filling and storage conditions. Facestock and adhesive starting points for jars, beverage bottles and cosmetic glass are set out in label materials for glass bottles and jars.
Recycled corrugated board
Recycled corrugated board can be rough, dusty and porous. Inspect whether the adhesive reaches a usable fibre surface and whether fibres transfer to the removed label. Compare suitable high-tack constructions and coat weights on the actual board.
Metal drums and painted steel
Bare and galvanised steel behave well; powder-coated and textured paints do not, and drums often carry oil film from the filling area. Outdoor drums add thermal cycling, so the label sees expansion and contraction the bond has to absorb. Check the paint finish and the degreasing step before touching the adhesive.
Squeezable containers
Repeated flexing can increase edge-lift risk. Compare facestock conformability, label dimensions, corner geometry and adhesive grade on filled containers under actual handling conditions.
Application temperature versus service temperature
These are two separate numbers on a datasheet and confusing them is a recurring source of cold-chain complaints. Minimum application temperature is the lowest substrate temperature at which the adhesive can still flow and wet out. Service temperature range is what the finished bond survives once it has formed.
An adhesive can be perfectly stable at −20 °C in service and still fail if it was applied to a substrate at +2 °C. The bond never formed; it only looked formed because the label was pressed flat.
The practical rule is to label warm and store cold wherever the process allows. Where product must be labelled after chilling or freezing, that is a specification requirement, not a process detail, and needs a cold-apply construction — see cold-chain and freezer label materials for what those constructions involve. Always confirm the exact figures against the technical datasheet for the grade you are quoting.
Moisture, condensation and contamination
Anything between the adhesive and the substrate acts as a release layer. Possible causes include moisture, processing residues, surface additives, cleaning products, oil and handling contamination. Inspect each of them on the actual pack rather than ranking them in advance.
Mould-release agents on newly blow-moulded or injection-moulded containers can migrate to the surface over time, so a container that labelled cleanly on day one can behave differently after a month in the warehouse. Silicone-based cleaners and hand lotion on operators' gloves can create the same effect in a smaller, more erratic pattern.
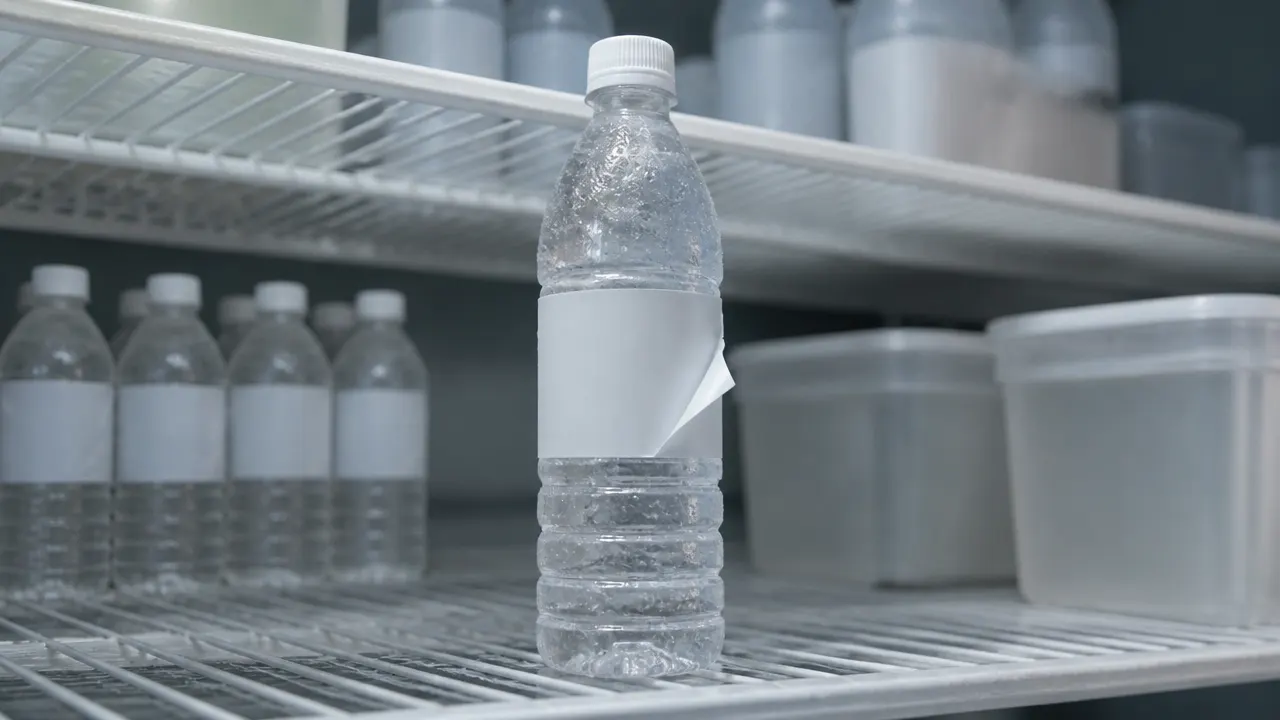
- Condensation from moving cold containers into a warm labelling room.
- Rinse or blow-off water remaining in recesses and around the shoulder.
- Oil mist, lubricant carry-over and hand contact on the label panel.
- Mould-release agent blooming on the surface of moulded plastic containers.
- Corrugated dust and loose fibre from the case erector.
Label construction factors
When the surface and the process check out, the construction itself is the remaining variable. Stiffness is the one to examine first: a facestock resists being bent around a container, and that stored energy pulls constantly at the edge of the label until something gives.
Label geometry multiplies the effect. A wide label on a small-diameter bottle, a square corner, or a long label wrapped past the point where the container tapers all concentrate peel force in a small area. Rounded corners can reduce concentrated edge stress. Confirm the radius against the actual label size, container curvature and die-cutting limits.
Heavy ink coverage, thick varnish or a laminate applied close to the edge stiffens the label further and can seal the edge in a way that raises stress rather than protecting it. Liner release matters too: a liner that releases unevenly can distort the label as it dispenses, so it never sits flat before wipe-down.
- Facestock caliper and stiffness against the container diameter.
- Label size and aspect ratio relative to the flat labelling area.
- Sharp corners rather than a radius.
- Compound curves, tapers and moulded seams under the label panel.
- Ink, varnish or laminate build within a few millimetres of the die-cut edge.
- Uneven liner release causing the label to arrive distorted at the wipe-down.
Step-by-step sample test on real containers
Bench testing is worth doing properly because it either confirms the diagnosis or rules it out in a few days. The protocol below is a practical in-house trial, not a standardised test method — do not describe the results as an ASTM or FINAT result unless you have run the exact standard and can cite the method.
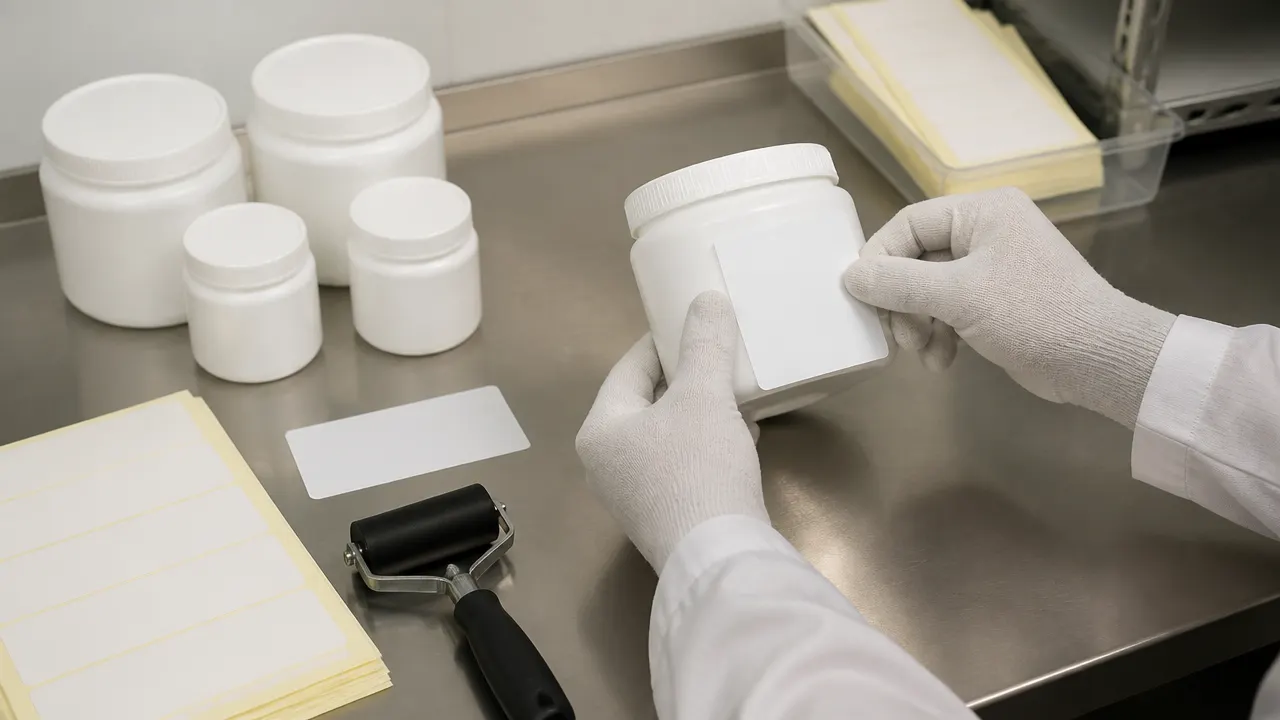
- Use containers taken from the real production supply, not showroom or sample containers.
- Test at the actual application temperature and with the surface in the condition it reaches the labeller — dry, damp or condensed.
- Apply every sample with consistent pressure, ideally with a hand roller rather than by thumb.
- Record observations immediately after application and again after an appropriate dwell period for the adhesive.
- Repeat the exposure that matters: cold storage, condensation, moisture, flexing or chemical contact.
- Photograph any edge lift and record the material lot, container lot and full test conditions.
- Change one variable at a time, so a result can be attributed to a single cause.
What to change: adhesive, facestock or process
Change the adhesive when the substrate is low surface energy, when the container is wet or cold at application, or when the label has to be removed or washed off at end of life. Those are chemistry requirements no process adjustment resolves. Constructions and coat weights are listed on our label adhesives and release liners page.
Change the facestock when the failure is at the corners of a curved or squeezable container, when the label tears rather than releasing, or when the label has to conform to a shape a stiff face cannot follow. A thinner or softer face often outperforms a stronger adhesive on the same pack.
Correct the process when the same material works on a hand-applied sample but fails on the line. That points at wipe-down pressure, applicator alignment, contamination upstream, or too little time between labelling and the next handling step. Fixing that is usually faster and cheaper than requalifying a material.
What to send us when you request samples
The more of this we have, the closer the first sample set will be. Sending the failed pack itself is worth more than any written description, and the full procedure for requesting material is set out in request label material samples.
- Container material, supplier and whether the surface is treated.
- Label size, shape, corner radius and print or varnish coverage.
- Substrate temperature and humidity at the moment of application.
- Full temperature and moisture profile after labelling, including chilling or freezing.
- Applicator type, line speed and wipe-down method.
- When the failure appears and where on the label it starts.
- Photographs of the lifted label and, where possible, the failed pack itself.
- Whether the label must be permanent, removable or wash-off at end of life.
Technical references
Independent supplier documentation used as background reading. These companies do not endorse or certify AllinLabel.
- Avery Dennison, Pressure-Sensitive Label Troubleshooting Guide — Supplier troubleshooting reference for label application and adhesion problems.
- Avery Dennison, Cold and Wet Bottle Label Application Bulletin — Technical bulletin covering labelling of cold and wet container surfaces.
- HERMA, Labels for Rough and Recycled Cardboard — Supplier overview of labelling rough, recycled grey board surfaces.
Frequently asked questions
- Why do labels peel off plastic containers?
- Often because the plastic has low surface energy or carries a residue on the wall, so the adhesive cannot wet out. Untreated HDPE and PP are frequent examples, and moulded containers may carry mould-release agent. Check the surface and the treatment before assuming the adhesive is too weak.
- Why do bottle labels lift in a refrigerator?
- Condensation or a low substrate temperature at application is a common cause, rather than the adhesive failing at chilled temperature. If the bottle is cold or damp when the label goes on, the bond may never form. Label before chilling where possible, or test a cold-apply or wet-surface construction on the actual container.
- Why do labels peel only at the corners?
- Corner lift points at geometry and facestock stiffness. A facestock that is too stiff for the container curvature stores energy that concentrates at the corners, and a square corner has nowhere to distribute it. Rounded corners can reduce that stress; confirm the radius and a more conformable facestock on the actual label size and container.
- Does a stronger adhesive always solve edge lift?
- No. If the cause is contamination, condensation, low application temperature, insufficient wipe-down pressure or a facestock fighting the container curve, a higher-tack adhesive changes very little. Diagnose when and where the lift begins first, then decide whether chemistry is the right lever.
- What is the difference between application temperature and service temperature?
- Minimum application temperature is the lowest substrate temperature at which the adhesive can still flow and wet out the surface. Service temperature is the range the finished bond survives afterwards. An adhesive can be stable well below freezing in service and still fail if applied to a cold substrate.
- How long should label adhesion be evaluated before approval?
- Check immediately after application and again after a dwell period appropriate to the adhesive, then repeat the exposure the pack will actually see — cold storage, humidity, flexing or transport. A bond that looks correct on day one can still lift once the pack is chilled or handled.
- Can the same adhesive be used on PET, HDPE and cardboard?
- Only testing on the real containers can answer that. These surfaces differ in surface energy, texture and porosity, so one grade may perform differently on each. Consolidating onto a single grade may be possible for similar containers, but confirm it on every substrate before approval.
If you are buying material before converting, start from self-adhesive label stock in jumbo rolls and then narrow the facestock, adhesive and liner with our technical team.
Related materials
Related reading
More guides on troubleshooting and related topics
 TroubleshootingWhy Labels Bubble, Wrinkle and Tunnel on Bottles and ContainersBubbles, wrinkles and tunnels look alike but have different causes: trapped air at application, gas from the container, a label that cannot follow the shape, or stress built into the roll.9 min read
 TroubleshootingWhy Labels Fail to Dispense and Liners Break on High-Speed ApplicatorsLabels that stay on the liner, fly past the product, or a liner that snaps mid-run usually trace back to release, die-strike, liner choice, tension or peel-plate setup.9 min read
 TroubleshootingWhy High-Elongation PE Film Can Still Tear in Bottle-Strap LabelsHigh elongation does not qualify a bottle-strap label. Learn how to separate cut-edge tears, permanent stretch and anchor movement before changing PE film.9 min read
Request a quote or a free sample
Send us your facestock, adhesive, liner and roll specification. Low MOQ, OEM/ODM, export to 60+ countries.